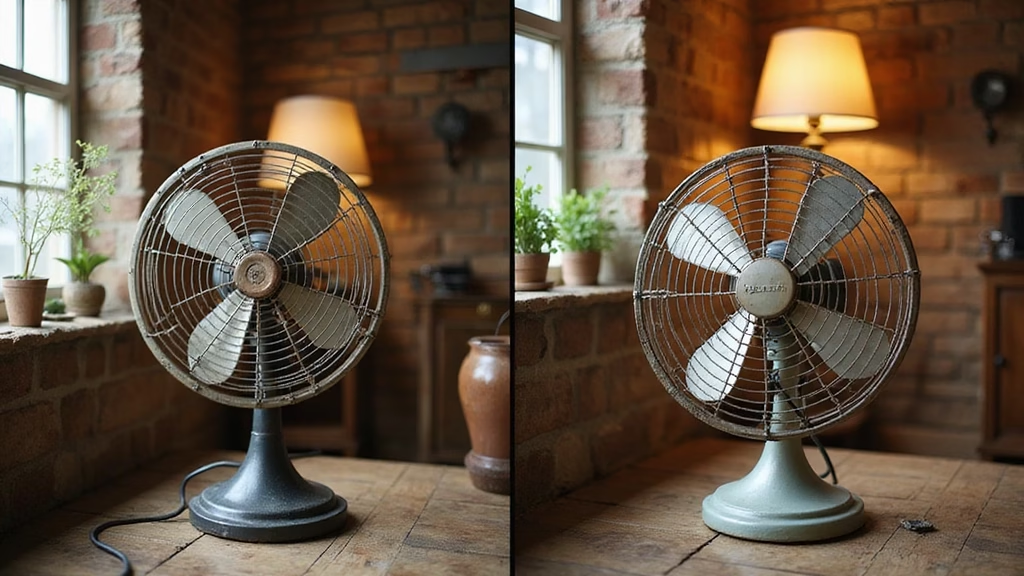
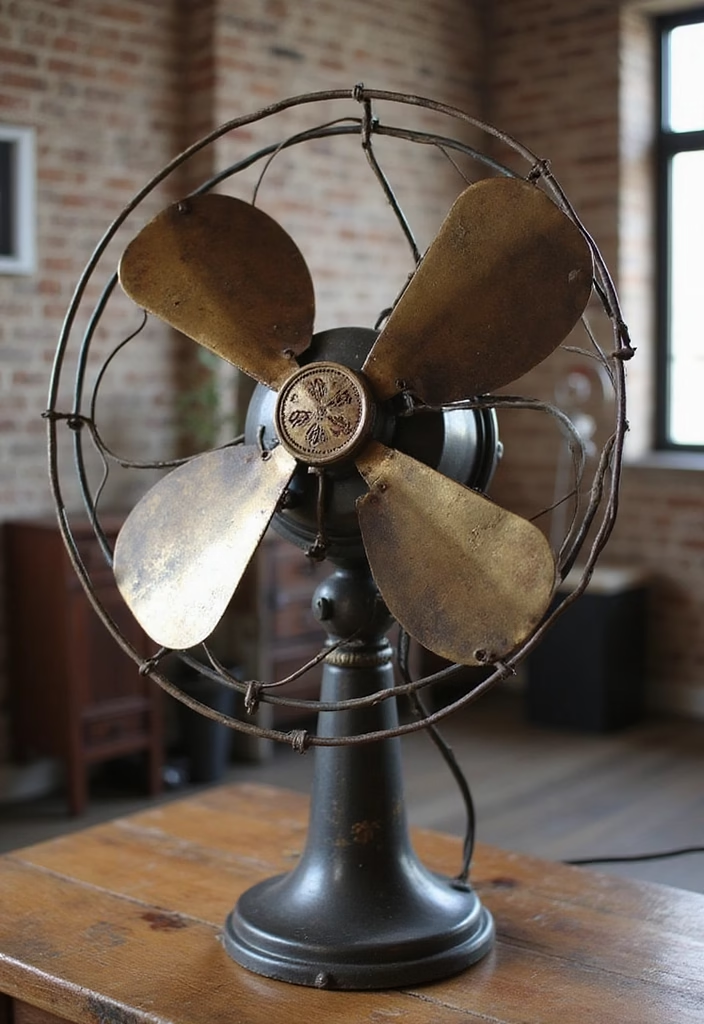
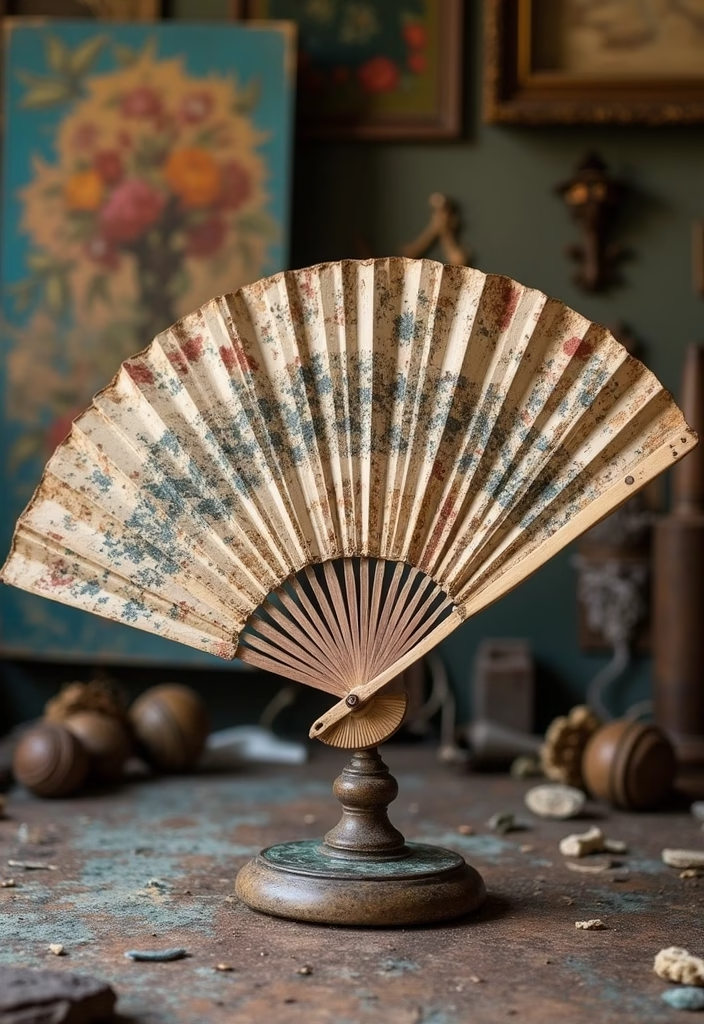
Antique fans have a charm that can instantly elevate any room, bringing warmth and nostalgia.
Revamping these vintage treasures through restoration and painting not only preserves their history but also adds a personalized touch to your decor.
Imagine transforming a dusty old fan into a stunning centerpiece that cools your space while turning heads.
In this guide, we’ll dive into creative ideas and practical tips that will inspire you to breathe new life into these classic pieces.
1. Classic Whitewash for a Timeless Look
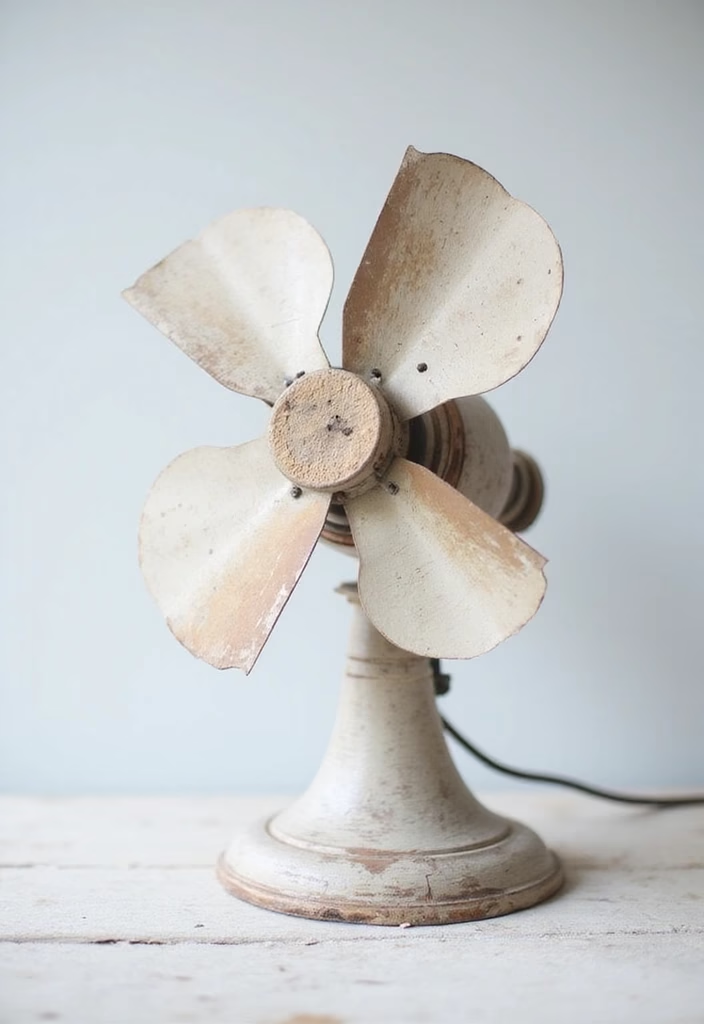
Whitewashing an antique fan creates a fresh, airy vibe that is perfect for any space.
This technique involves mixing white paint with water and applying it to the fan’s surface, allowing the wood grain to show through. The result? A beautifully subtle finish that enhances the fan’s natural beauty.
Here are some tips for a successful whitewash:
– Start by cleaning the fan thoroughly to remove any dust.
– Use a fine sandpaper to lightly scuff the surface, helping the paint adhere better.
– Mix equal parts of water and white paint for a soft wash effect.
– Apply with a brush or rag, wiping off excess for a more rustic feel.
– Consider finishing with a clear sealant to protect your work.
Whitewashed fans not only look chic but also blend seamlessly with a variety of decor styles. They add a touch of simplicity while maintaining that vintage flair, making them ideal for farmhouse or beachy interiors.
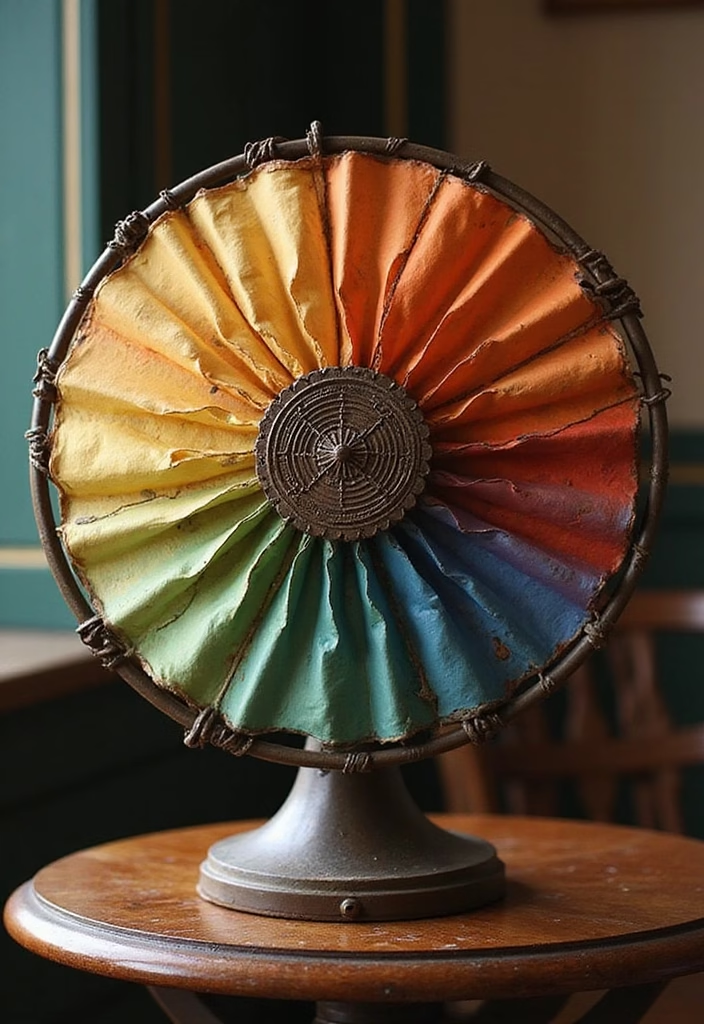
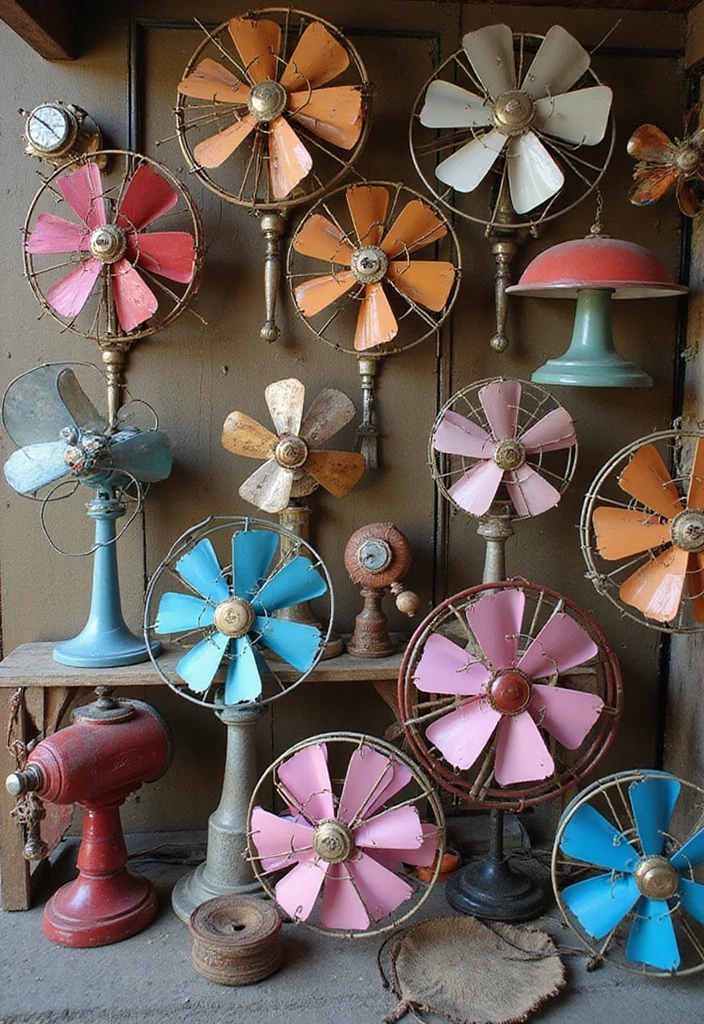
2. Bold Colors to Make a Statement
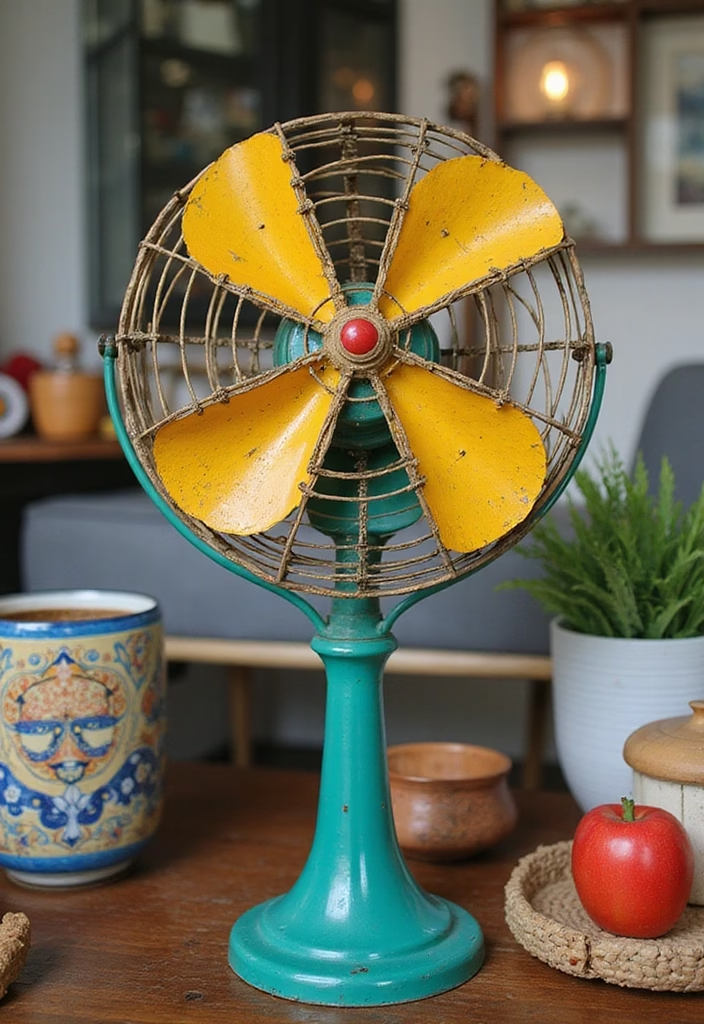
For those who love to stand out, a bold color makeover can transform an ordinary antique fan into a stunning statement piece.
Bright yellows, deep blues, or even vibrant pinks can breathe new life into these vintage items, making them a perfect focal point in any room.
Consider these tips for a colorful transformation:
– Choose high-quality spray paint designed for metal, which ensures a smooth finish.
– Clean and remove any rust or peeling paint before applying the new color.
– Use painter’s tape to protect any areas you want to keep unchanged.
– Apply multiple thin coats rather than one thick coat for better results.
– For added flair, you can add patterns or stencils using contrasting colors.
A brightly colored fan can complement a modern eclectic decor style or even add a fun pop to a more vintage-inspired setting. It’s all about creating that perfect balance between old and new.
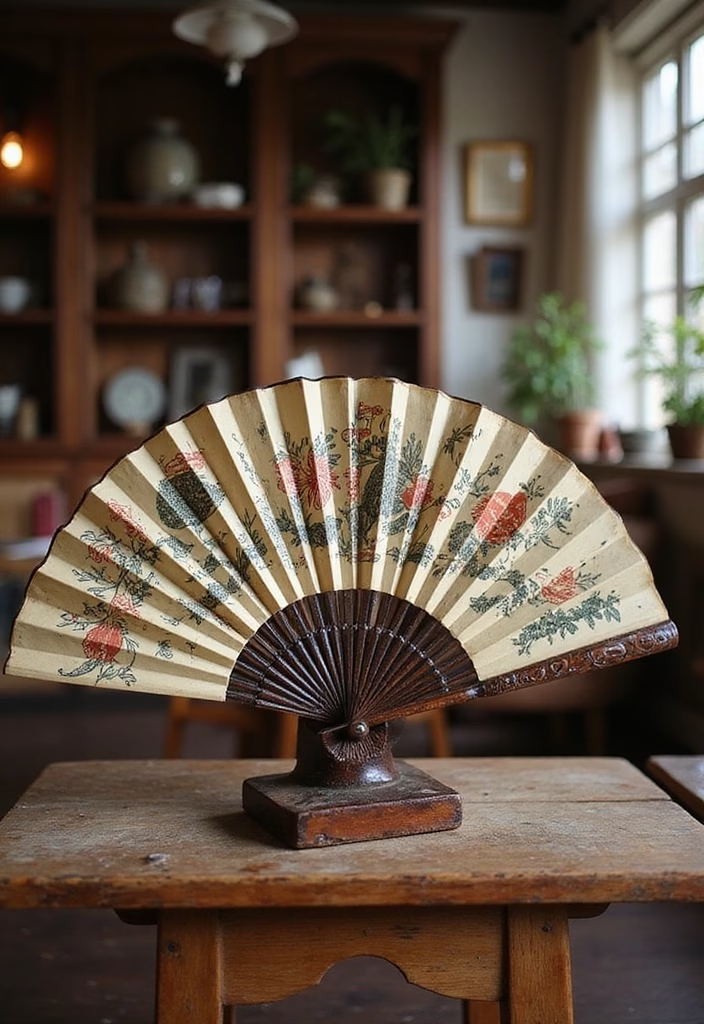
3. Vintage Floral Patterns for a Romantic Touch
If you adore all things vintage, consider painting your antique fan with floral designs that evoke a sense of romance and nostalgia.
These patterns add a delicate touch that can easily enhance any shabby chic or cottage decor.
Here’s how to achieve this look:
– Start with a base coat in a soft, pastel color.
– Use stencils or free-hand to create floral designs with acrylic paint.
– Mix different shades of the same color for depth and dimension.
– Seal your artwork with a clear varnish to protect it from dust and damage.
– Don’t forget to add small details like leaves or vines to complete the floral look.
A floral-painted fan can evoke memories of garden parties and serene afternoons, making it perfect for a sunroom or a cozy reading nook.
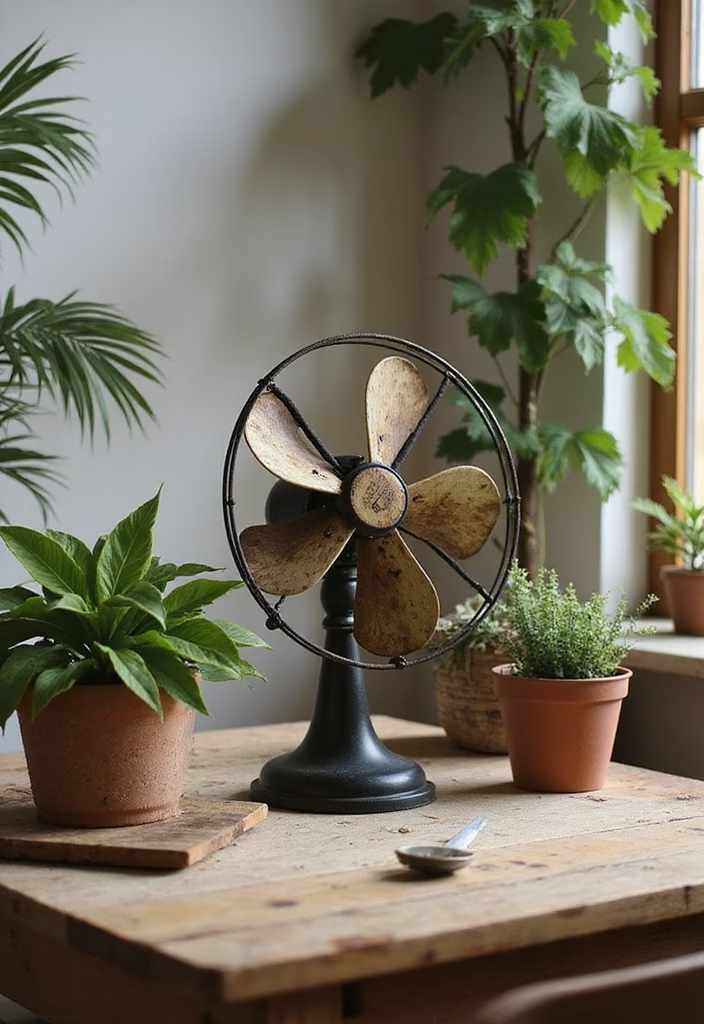
4. Industrial Chic with Metal Finishes
For a more rugged aesthetic, consider restoring an antique fan with industrial-style metal finishes.
This trend embraces raw materials and often highlights the fan’s original features while adding a modern twist.
Here are some ideas to achieve an industrial look:
– Use a metallic paint or finish that mimics brushed nickel or matte black.
– Focus on highlighting screws and rivets to celebrate the fan’s design.
– Consider adding a distressed look by sanding down the edges after painting.
– Pair the fan with complementary items like metal decor or vintage light fixtures for a cohesive look.
This industrial style blends beautifully with contemporary and minimalist spaces, making your antique fan not just a utility item but a work of art.
5. Creative Decoupage Techniques
Decoupage is a fun and creative way to add character to your antique fan, allowing you to showcase your personal style.
Using fabric, paper, or even wrapping paper, you can create intricate designs that reflect your favorite themes.
To get started with decoupage:
– Choose your materials carefully; lightweight paper works best.
– Cut out your designs and lay them out before adhering.
– Use decoupage glue to attach the pieces, smoothing out any wrinkles.
– Seal your work with a few coats of varnish for durability.
– Feel free to layer different materials for a 3D effect.
Decoupage fans can serve as whimsical pieces in a child’s room or a creative workspace, injecting personality and color into your decor.
6. Upcycling with Vintage Wallpaper
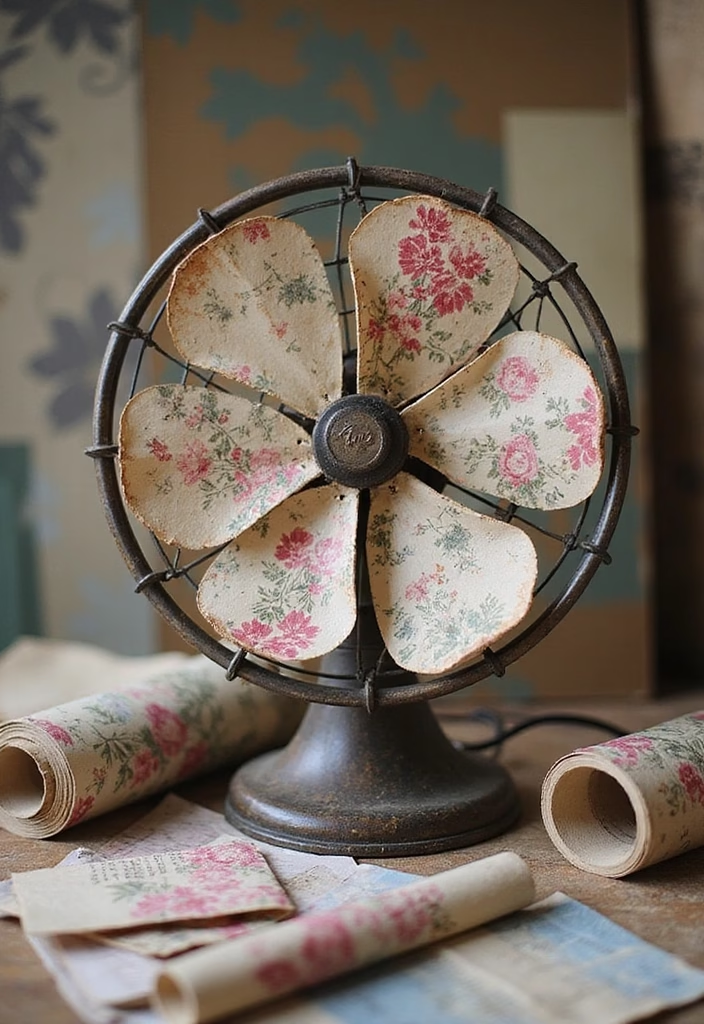
Using vintage wallpaper scraps to restore an antique fan is an eco-friendly and stylish choice.
This method gives you a wide range of patterns and textures while helping to recycle old materials.
Here’s how to execute this upcycling project:
– Select wallpaper that matches your decor style, whether it’s floral, geometric, or abstract.
– Cut the wallpaper to fit the fan’s surfaces, paying attention to the design flow.
– Use decoupage glue for adherence and finish with a protective coat.
– Consider using a clear wax for a soft sheen that enhances the wallpaper’s beauty.
A fan covered in vintage wallpaper can tell a story while adding character to any room, making it a standout piece in your home.
7. Chalk Paint for a Soft, Matte Finish
Chalk paint is perfect for achieving a soft, matte finish that highlights the vintage appeal of an antique fan.
This type of paint adheres well to most surfaces and requires minimal prep, making it ideal for both beginners and experienced DIYers.
To use chalk paint effectively:
– Clean the fan to ensure the best adherence.
– Apply a coat of chalk paint with a brush or roller, letting it dry completely.
– For a distressed look, lightly sand the edges after the paint has dried.
– Seal with a clear wax or matte sealer for added protection.
Chalk-painted fans fit perfectly in rustic or farmhouse-style homes, bringing a cozy and inviting feel.
8. Layering Colors for Depth
Layering colors can create incredible depth and dimension on your antique fan, transforming it from bland to bold.
Using a base color and layering with shades can give your fan a unique, customized look.
Here’s how to achieve this technique:
– Start with a solid base color and let it dry completely.
– Choose a contrasting or complementary color for the top layer.
– Using a sponge or brush, lightly dab or streak the top layer over the base.
– Consider using a third color for detailing or accents.
– Seal it with a protective finish to preserve the layers.
This technique allows you to personalize your antique fan to match your unique style, making it a fun addition to your decor.
9. Adding Mixed Media Elements
For those who love art, why not incorporate mixed media into your antique fan makeover? Adding items like beads, fabric swatches, or even natural elements can create a truly one-of-a-kind piece.
Here’s how to integrate mixed media:
– Choose a base to which you’ll add different elements.
– Use strong adhesive to attach fabrics or beads to the fan, ensuring they are securely fastened.
– Consider using acrylic paints or markers to highlight these elements.
– For a cohesive look, use colors that match your decor or theme.
A fan transformed with mixed media elements can become a focal point, sparking conversation and admiration in your home.
10. Encouraging Community Design Projects
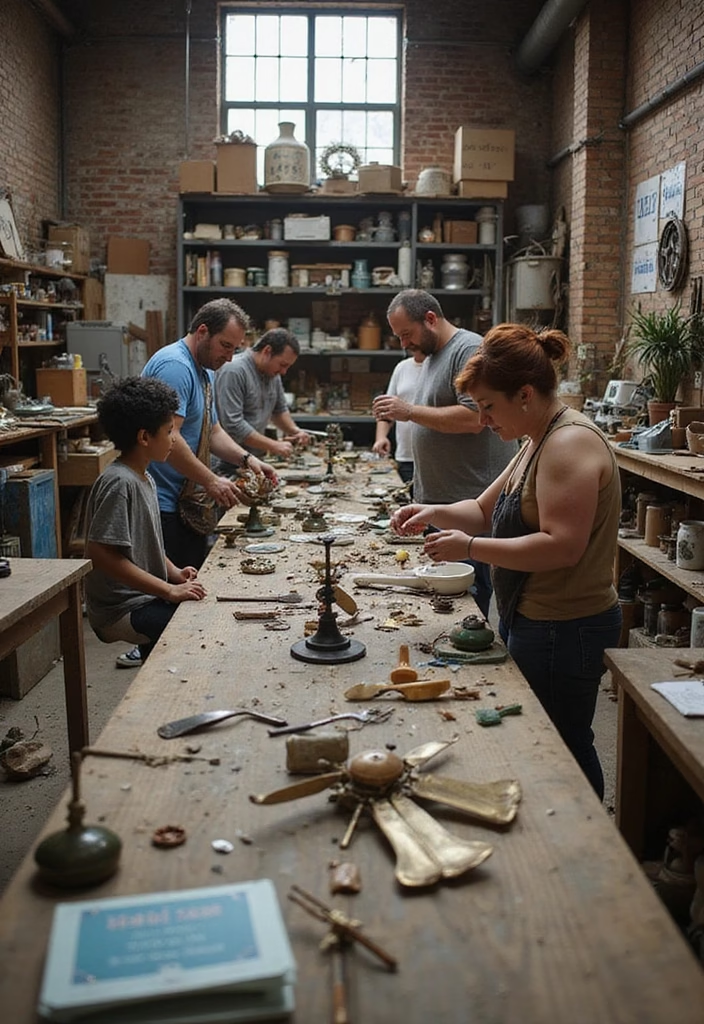
Antique fan makeovers can be even more fun when done as community projects! Working alongside friends, family, or local groups can enhance creativity and spread awareness about restoration.
Consider organizing a DIY workshop where participants can bring their fans and materials to work together.
for a successful community project:
– Set a date and promote it through local social media groups.
– Provide essential materials or encourage participants to bring their own.
– Share techniques and tips to inspire creativity.
– Celebrate the finished products with a little showcase or a group photo.
Community design projects help build connections and can lead to amazing, diverse creations that reflect the personal touch of each participant!
11. Eco-Friendly Approaches to Restoration
With sustainability in mind, using eco-friendly products for your antique fan makeover is a smart choice!
By opting for non-toxic paints and natural sealants, you can create beautiful pieces while being kind to the planet.
Consider these options:
– Choose water-based paints with low VOCs for healthier air quality.
– Reuse materials whenever possible, like old papers or fabrics for decoupage.
– Look for natural sealants made from beeswax or plant oils.
– Donate or sell old parts instead of throwing them away, contributing to a circular economy.
Restoring your antique fan sustainably not only beautifies your space but also promotes environmental consciousness within your home decor choices.
12. Celebrating Local Histories
Every antique fan comes with its own history and stories.
When restoring, consider incorporating elements that reflect the local culture or history. This can create a meaningful connection to the fan’s past while adding a personal touch to your decor.
Ideas to celebrate local histories:
– Use colors that represent your city or region.
– Integrate symbols or designs that reflect local landmarks or heritage.
– Share the story of the fan and its history on a tag or as part of the display.
– Encourage others to research and honor the history of their pieces too.
Focusing on local history can transform your antique fan into a conversation starter, making it not just an item but a piece of shared heritage.
13. Seasonal Themes for Fun Updates
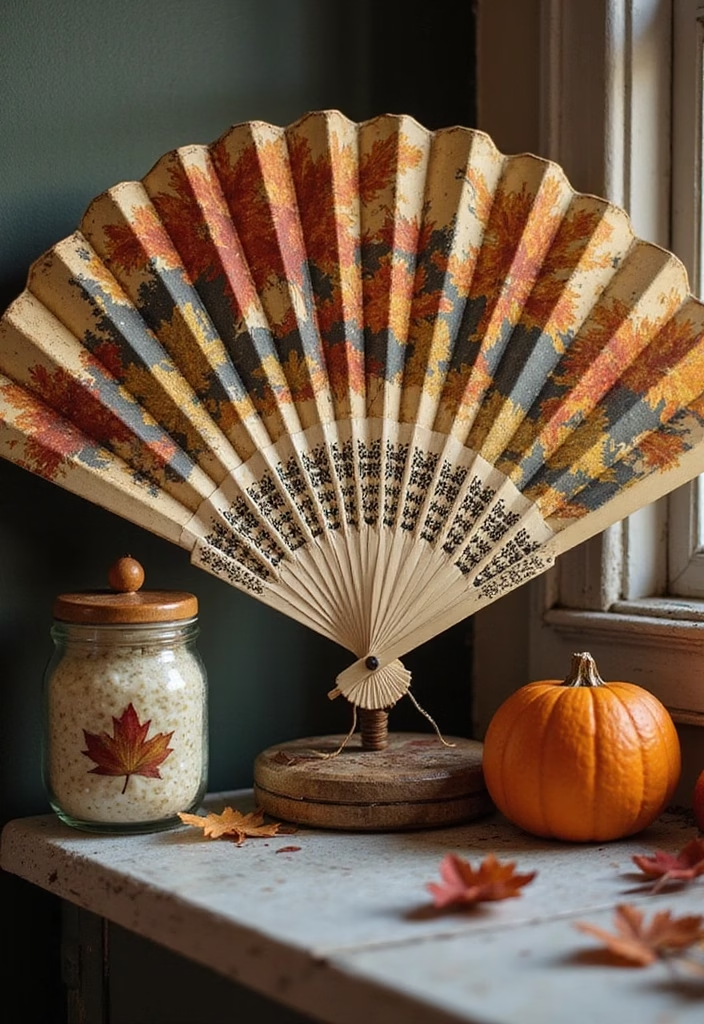
Why not change the look of your antique fan with the seasons? This is a great way to keep your decor fresh and exciting throughout the year.
For each season, consider different colors and designs that reflect the changing environment.
Here are some seasonal ideas to get you started:
– Spring: Soft pastels and floral patterns.
– Summer: Bright colors like yellow or turquoise paired with beach motifs.
– Fall: Warm hues and leaf designs.
– Winter: Cool shades like icy blue or silver with snowflake accents.
By updating your fan seasonally, you keep your decor dynamic and engaging while showcasing your creativity!
14. Incorporating Lighting Elements

Turn your antique fan into an even more intriguing piece by incorporating lighting elements. This can add functionality and aesthetic appeal.
Here’s how to creatively integrate lighting into your fan makeover:
– Add LED strip lights around the base or underneath the blades for a modern twist.
– Incorporate a small lamp into the fan’s design while retaining its original charm.
– Use glass or acrylic materials to diffuse light creatively.
An antique fan enhanced with lighting not only showcases craftsmanship but also provides ambient light, making it a multi-functional piece in any room.
15. Showcasing Fan History and Design

When restoring an antique fan, consider showcasing its design history.
This could involve creating an informational tag or display to share its backstory, materials, and era it comes from.
Here are ways to celebrate your fan’s history:
– Research the model and share interesting facts.
– Create a small plaque or write a short story about its journey.
– Display it alongside other vintage items that complement its era.
By sharing its history, you add depth to your decor and invite guests to appreciate the craftsmanship of these beautiful pieces.
Conclusion
Revamping antique fans not only enhances their beauty but also breathes new life into your home decor.
Whether you opt for a bold paint job or embrace the charm of natural finishes, there’s an endless array of creative possibilities waiting for you.
So grab your brushes and let your imagination flow, turning these nostalgic pieces into new treasures that reflect your unique style!