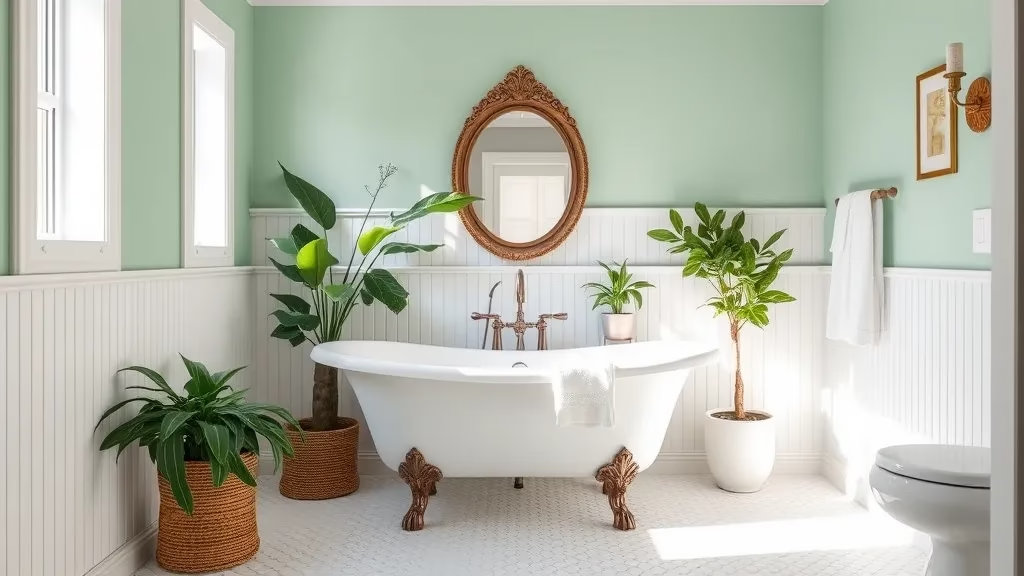
Transform your bathroom into a stunning retreat with bead board walls that exude charm and elegance.
With simple installations and stylish designs, bead board can elevate your space while providing a classic touch.
In this article, we’ll explore five easy ways to install bead board walls that you can easily tackle over a weekend. Get ready to be inspired and create a bathroom you love!
1. Prepping Your Walls: The Foundation for Success
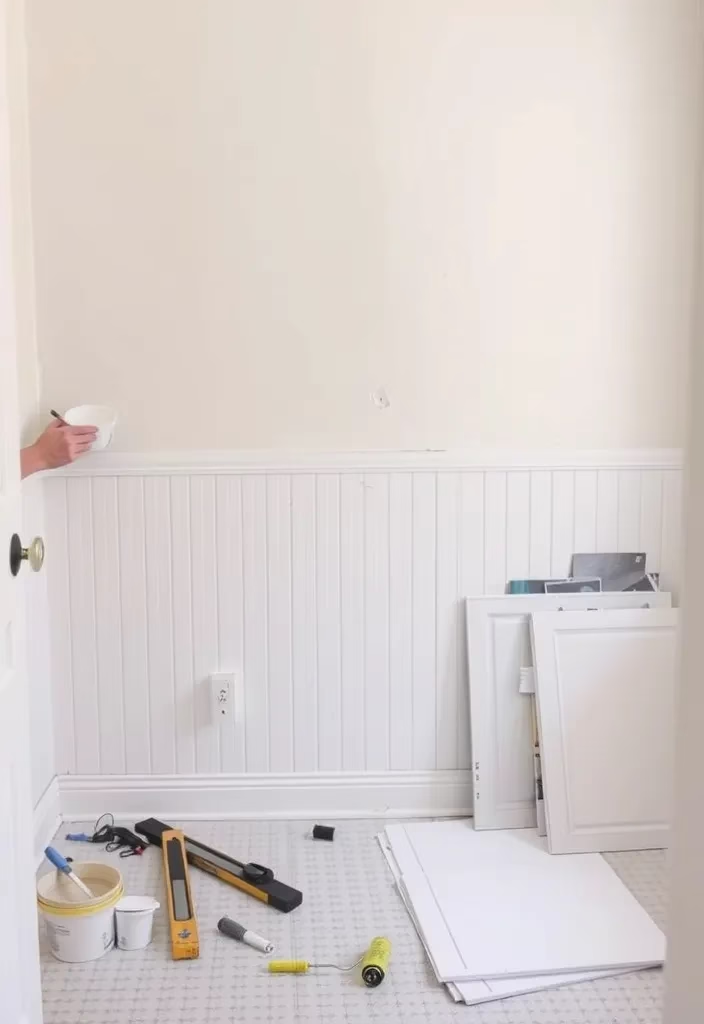
Before diving into the installation of bead board walls, it’s crucial to prep your walls properly.
Start by removing any existing fixtures or coverings. Clean the wall surface to ensure it’s free from dust and grease. Use a level to check for any uneven areas, and patch them up with drywall compound for a smooth finish. This step sets a strong foundation for your bead board, ensuring it adheres well and looks flawless once installed.
2. Choosing Your Bead Board Style: Aesthetic Appeal
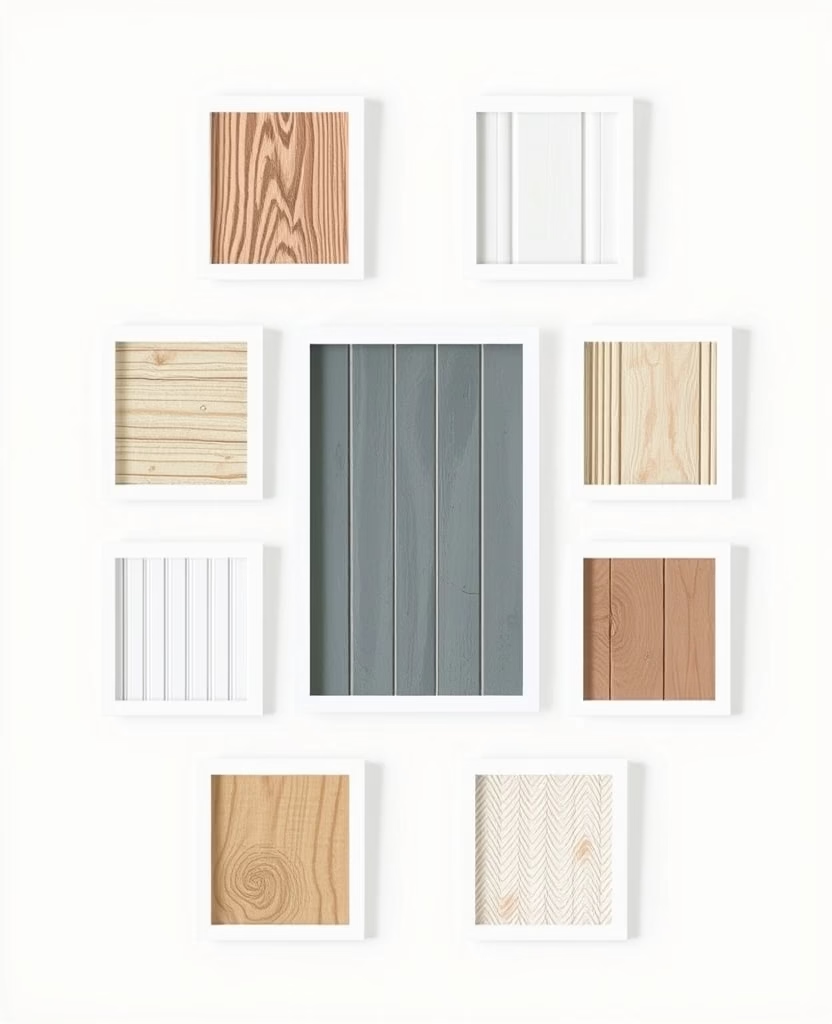
Selecting the right bead board style is essential for achieving the desired aesthetic in your bathroom.
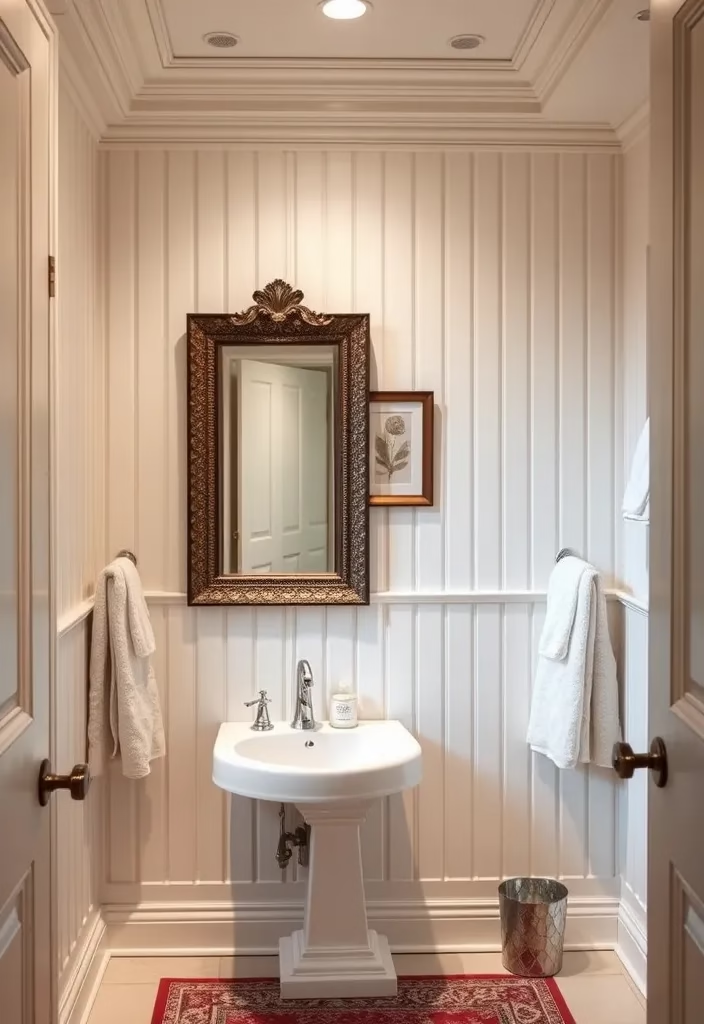
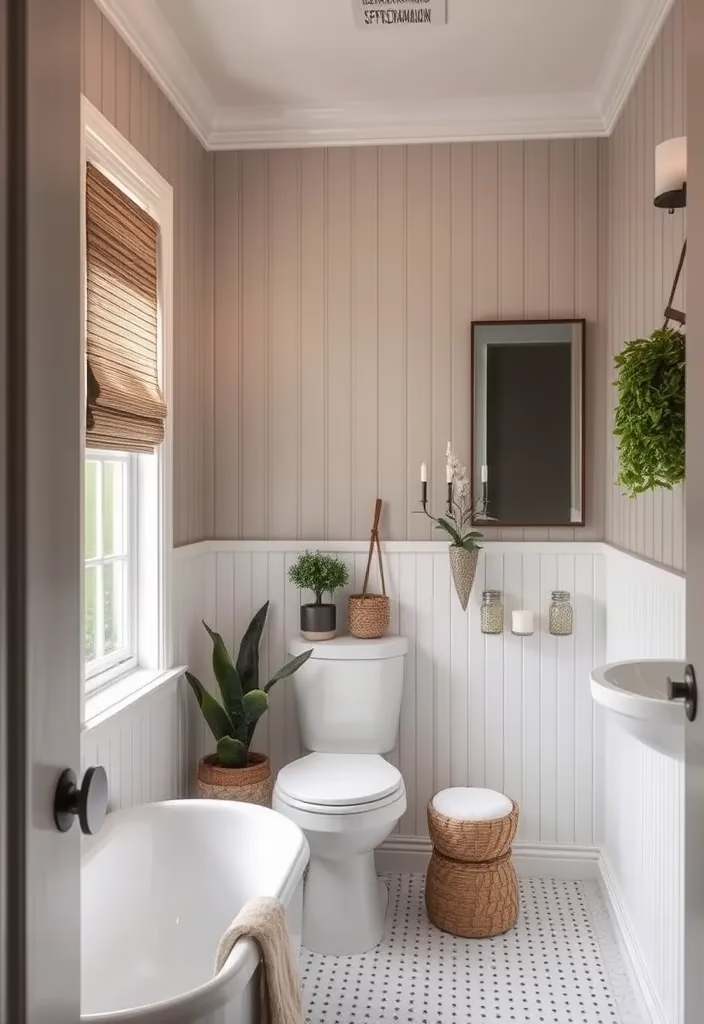
There are various types, including traditional, tongue-and-groove, and beadboard wallpaper. Traditional bead board adds a classic touch with its vertical slats, while tongue-and-groove offers a seamless appearance. For renters or those on a budget, beadboard wallpaper provides an easy and removable alternative without sacrificing style.
3. The Secret Weapon: Using Liquid Nails for Easy Installation
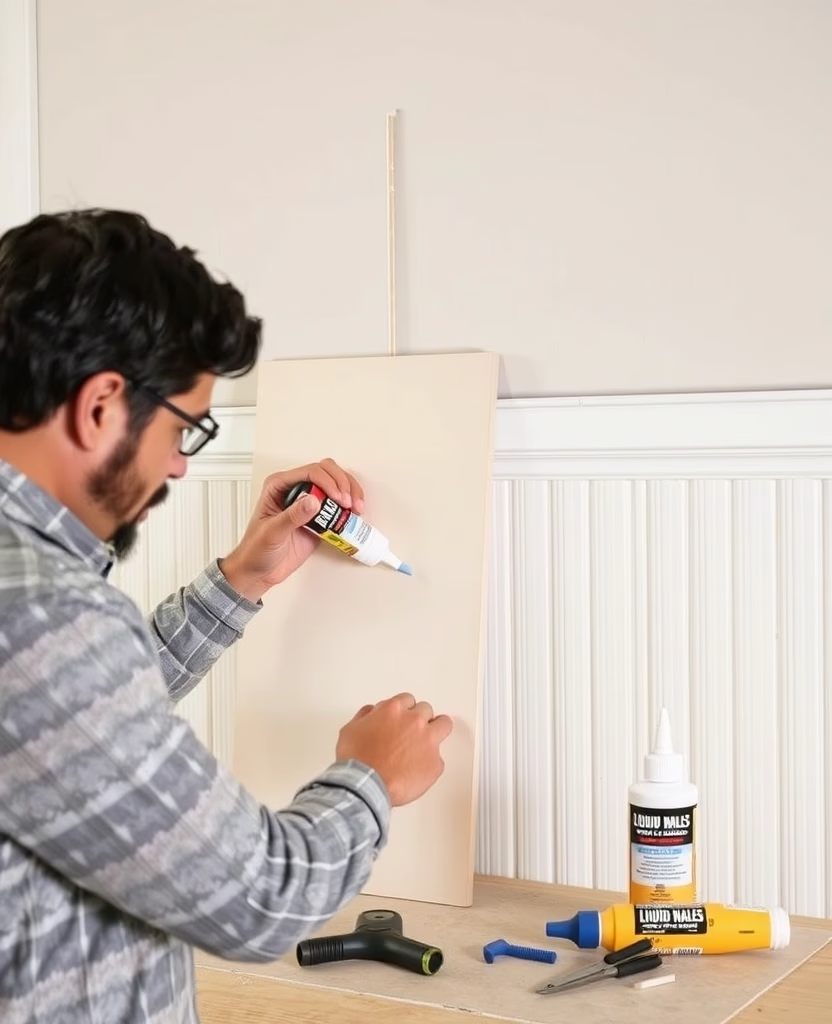
Tip #3 that will blow your mind is using Liquid Nails for an effortless installation process!
Instead of traditional nails or screws, Liquid Nails adhesive provides a strong bond that makes it easy to attach bead board directly to the wall. Simply apply the adhesive to the back of each panel, press it into place, and let it set. This method not only speeds up the installation process but also leaves a cleaner finish without visible nail holes.
4. Painting Your Bead Board: Color Choices that Wow

Once your bead board is installed, it’s time to unleash your creativity with color!
Choosing the right paint can significantly enhance the look of your bathroom. Light colors can make a small space feel larger and more open, while bold hues can add drama and personality. Consider using semi-gloss or satin finishes for durability and easy cleaning—perfect for a humid bathroom environment.
5. Finishing Touches: Trimming and Accessories
The final step in your bead board installation is adding finishing touches that elevate the overall look.
Consider custom or store-bought trim to neatly cover the seams and edges of your bead board. This can give a polished appearance and enhance the charm of your bathroom. Additionally, accessorizing with mirrors, artwork, and matching fixtures can create a cohesive design that ties the whole room together.
Conclusion
Installing bead board walls in your bathroom doesn’t have to be a daunting task.
With these five easy steps, you can create a stunning, stylish space that reflects your personal taste. Whether you’re a DIY novice or a seasoned pro, these tips will guide you through the process. So grab your tools and get started on your bead board adventure!
What’s your favorite?
Which of these ideas are you excited to try? Let me know in the comments below!